How to Safely Change a Ceiling Fan Light Bulb or Fixture
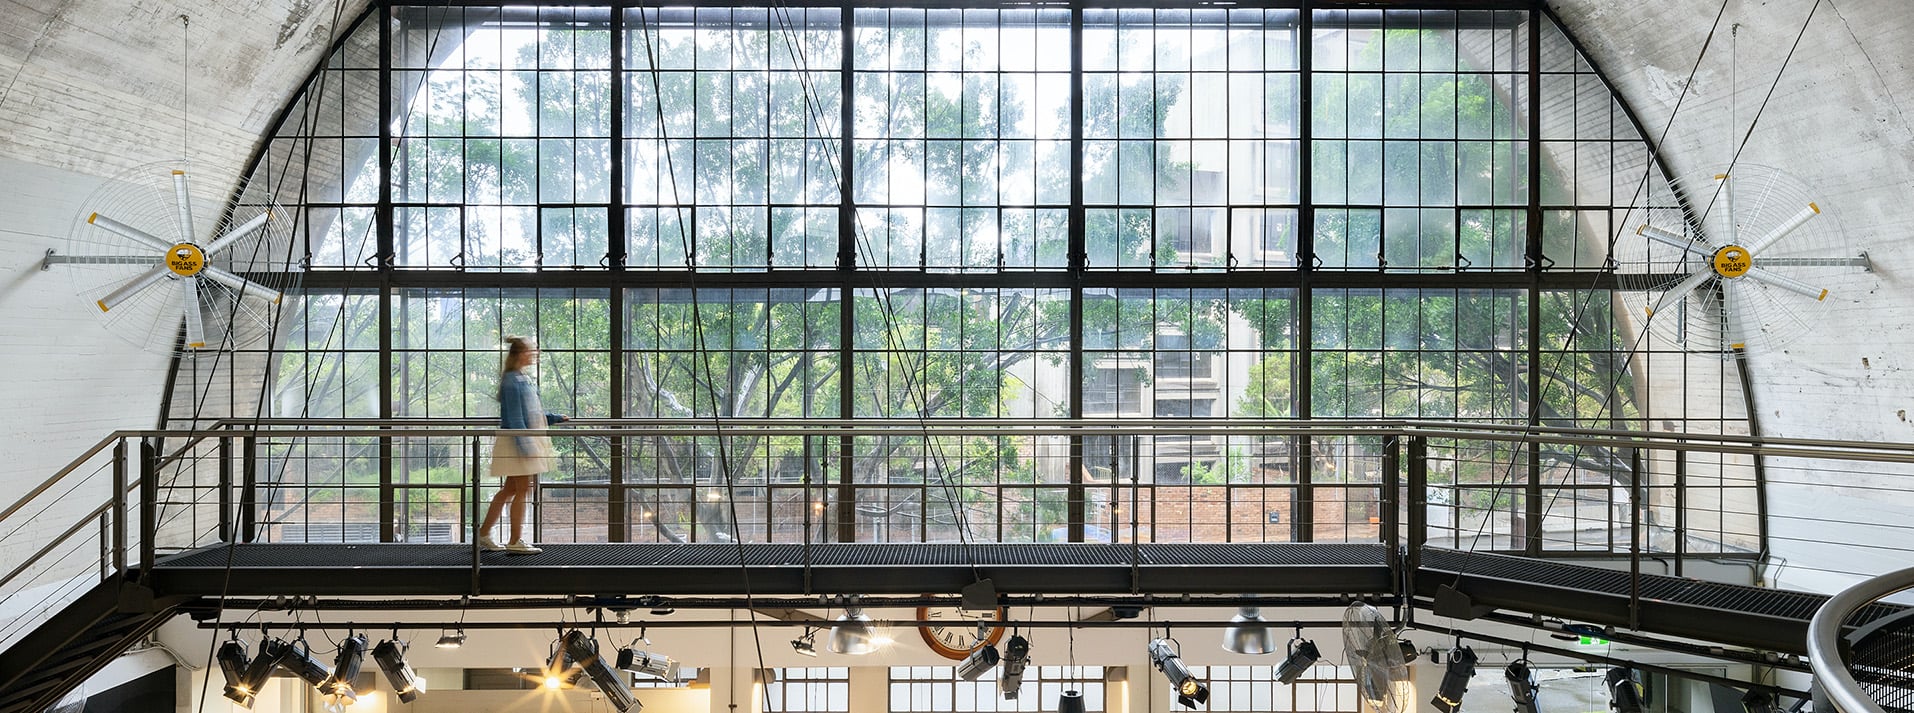
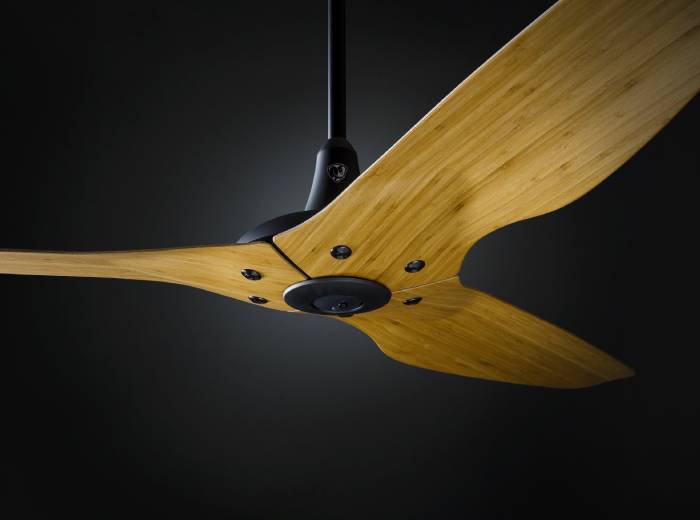
Ceiling fans with built-in lights are a great way to add functionality and comfort to your home, but what happens when the bulb goes out or you want to upgrade the light fixture? Whether you're dealing with a dim room or you're just ready for a fresh look, this how-to guide will walk you through how to change a ceiling fan light bulb and even replace the entire fixture, safely and efficiently.
It's important to handle ceiling fan light bulb replacement or fixture upgrades with care. Working with overhead fixtures and electrical components comes with inherent risks, so using the right tools and taking safety precautions like cutting power at the breaker is essential.
This guide is perfect for homeowners, renters, and DIYers alike. Whether you're swapping out a burnt-out bulb or installing a sleek new LED fan light replacement, we've got you covered.
safety first: prepare before you begin
Before you even think about grabbing a ladder, it's essential to focus on safety. Dealing with electricity and elevated fixtures means a simple task can quickly become dangerous if done carelessly.
Turn off the power at the breaker, not just the light switch. This ensures there's no residual current running to the fan or light fixture. Even if you're only replacing a bulb, it's a good habit to cut power completely to avoid accidental shocks.
Next, give the bulb or fixture time to cool. Light bulbs, especially halogen or incandescent ones, can become extremely hot. Attempting to change them while hot can cause burns or make them harder to remove.
Set up a sturdy step ladder that allows you to comfortably reach the ceiling fan without overextending. Make sure the area is well-lit, and if possible, have someone nearby to assist, especially if you’re handling delicate glass globes or working on an older fan.
tools and Materials you'll need
Having the right tools on hand can save time and frustration while keeping you safe. Here’s a checklist of what you'll need for either a ceiling fan light bulb replacement or full fixture change:
- Replacement bulb (check wattage and bulb type; LED is energy-efficient and long-lasting)
- Screwdriver (typically Phillips head, used for removing globes or fixture components)
- Step ladder (for reach and stability)
- Work gloves (to protect your hands and get a better grip on glass or metal)
- Voltage tester (optional but helps confirm power is off before touching wires)
- Safety glasses (optional but useful during fixture replacements)
Be sure to double-check the compatibility of the replacement LED light for ceiling fan models. Not all fixtures accept all bulb shapes or wattages, and using the wrong kind can lead to damage or poor performance.
how to replace a ceiling fan light bulb
Changing a light bulb in a ceiling fan is a relatively simple task, but it still requires care. Here's how to do it step-by-step:
- Turn off the power at the breaker. Don’t rely solely on the wall switch.
- Allow the bulb and fixture to cool. A few minutes should be enough for most bulbs.
- Position your ladder securely. Make sure it’s level and stable before climbing.
- Remove the globe or light cover. These are often held in place by screws or clips. Keep track of any fasteners you remove.
- Take out the old bulb. Use gloves if the bulb is dusty or fragile. Turn it counterclockwise to remove.
- Install the new bulb. Make sure it's the right size and wattage. Insert and turn clockwise until snug, but don’t overtighten.
- Clean the globe if needed before reinstalling it. A simple wipe with a microfibre cloth can improve brightness.
- Secure the cover back in place. Check that it’s stable before turning the power back on.
- Flip the breaker and test the light. Make sure everything works before you put away your tools.
This process covers everything you need to know for basic ceiling fan light bulb replacement, including how to change light bulb in ceiling fan models that may use either standard bulbs or compact LEDs.
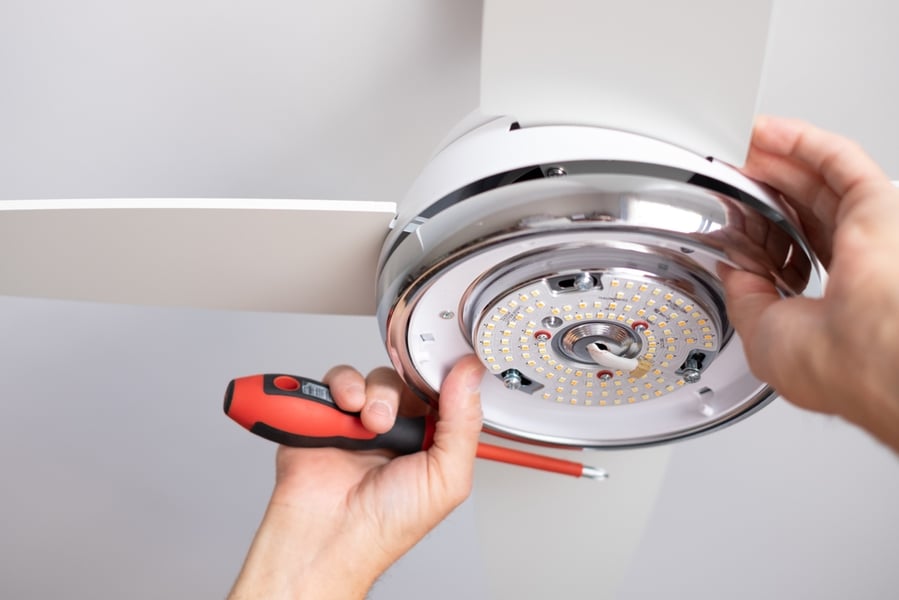
how to replace a ceiling fan light fixture
If you're ready to upgrade to a more modern replacement LED light for ceiling fan or swap in a different style entirely, replacing the entire light fixture can refresh your space.
Here’s how to replace the fan light fixture safely:
- Turn off the power at the breaker.
- Set up your ladder and tools.
- Remove the existing fixture. Most light kits are held on by screws or a center mounting nut. Detach the fixture carefully and disconnect the wires.
- Inspect the wiring. If anything looks burnt, brittle, or unfamiliar, stop and consult a licensed electrician.
- Match the wires. Typically, black goes to black (hot), white to white (neutral), and green or copper is ground. Use wire nuts to connect, and wrap with electrical tape for added security.
- Attach the new light kit. Mount the fixture using the included screws or brackets.
- Secure any globes or light covers.
- Double-check all connections. Tug gently to ensure everything is tight and safe.
- Restore power and test the fixture.
This process covers both modern ceiling fan LED light replacement kits and traditional multi-bulb setups. If your fan is old, unstable, or you’re unsure about the wiring, it’s wise to call in a professional.
common mistakes to avoid
Even small errors can turn an easy project into a time-consuming repair. Here are some common pitfalls and how to avoid them:
- Not turning off the power completely. Always use the breaker, not just the wall switch.
- Using the wrong bulb type or wattage. Double-check your fan’s specs to avoid overheating or poor performance.
- Over-tightening screws. This can crack glass globes or strip fixture mounts.
- Dropping parts due to poor footing. Always use a stable ladder and keep both hands free when possible.
- Forgetting to test the fixture. Always confirm everything works before reinstalling the globe or stepping off the ladder.
summing up
Whether you're tackling a simple ceiling fan light bulb replacement or doing a full replace fan light fixture upgrade, a little preparation goes a long way. By cutting power at the breaker, using the right tools, and taking safety seriously, you can handle these tasks with confidence.
Remember: always double-check that the power is off, use compatible parts like the right LED fan light replacement, and take your time during installation.
Need help with installation or upgrades? Reach out to the Big Ass Fans team for expert guidance and support.